WELCOME TO THE ITEXAMTEST
Latest IT EXAM DUMPS | Citrix | VMware | Azure | AWS | GCP with ITExamTest
Looking for the latest IT Exam Dumps at unbeatable prices? ITExamTest is your go-to destination! We offer a wide range of cutting-edge IT dumps at the cheapest prices worldwide. With our 100% passing guarantee, you can confidently ace your IT exams and take your career to new heights. Don’t miss out on this opportunity to excel in your IT certifications. Visit ITExamTest today and unlock your path to success !!

SELECT YOUR LATEST IT EXAM DUMPS VENDORES HERE and BUY
ALL DUMPS UPDATED ON April,2024


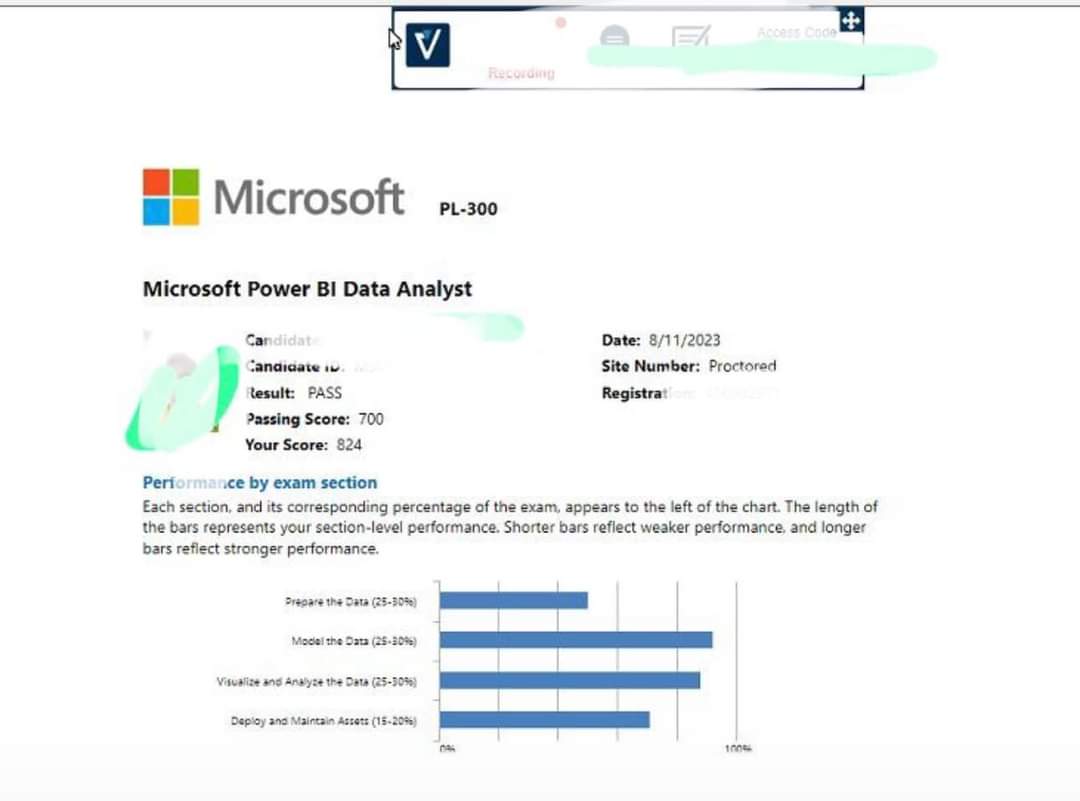
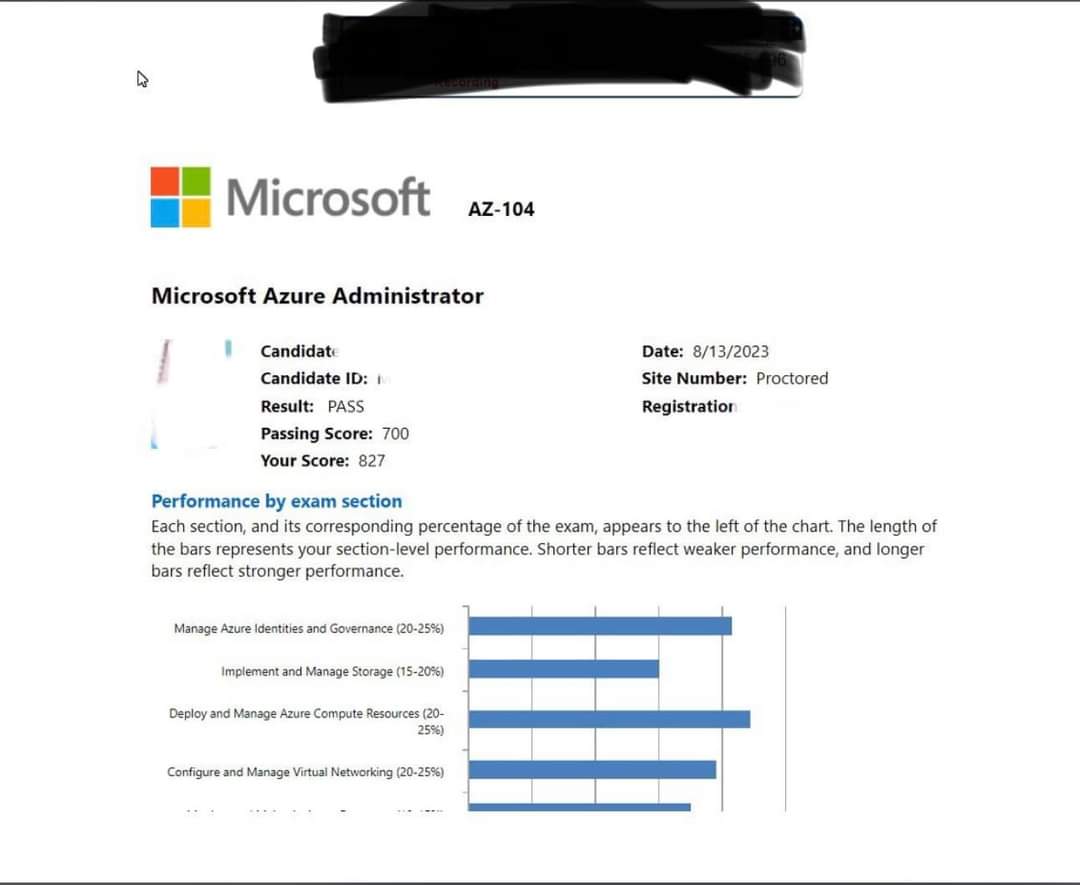
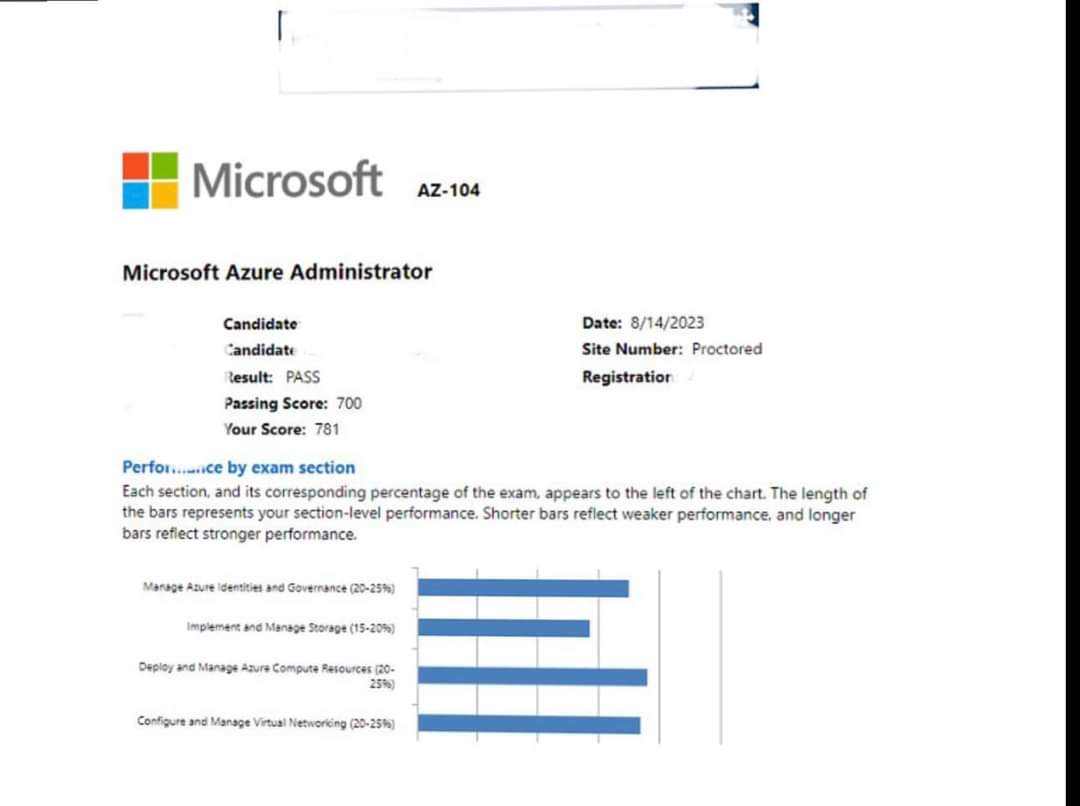
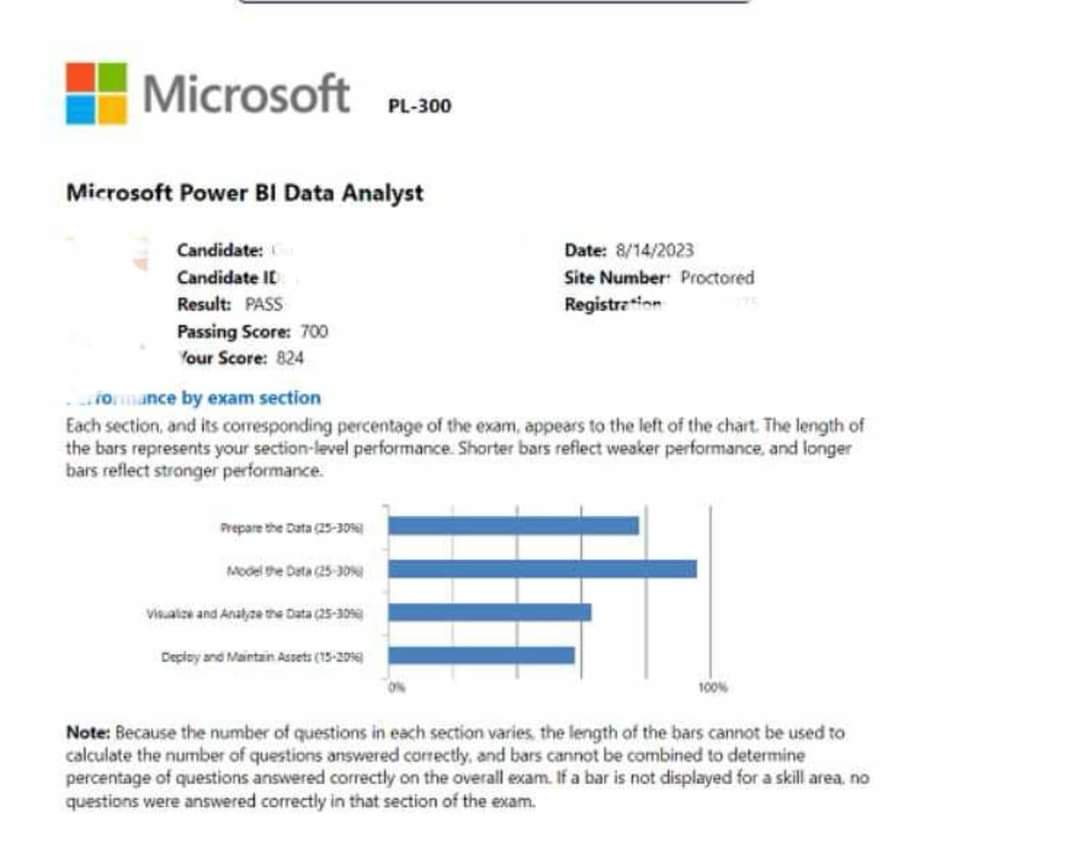
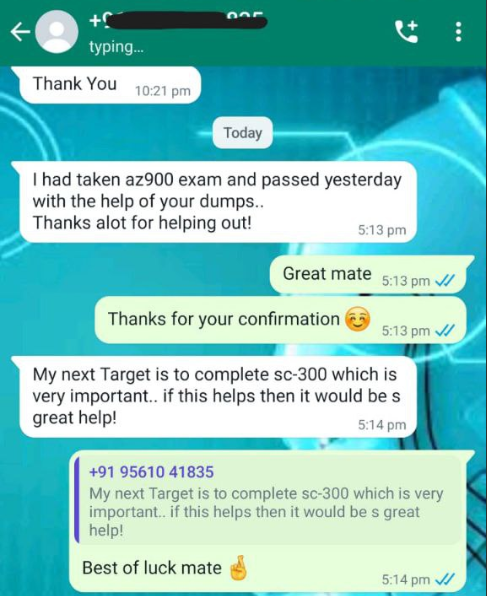
Live Proof who passed exams